Start Pottery at Home: A Complete Beginner’s Guide
|
|
Time to read 6 min
|
|
Time to read 6 min
Thinking about picking up a new creative hobby this year? Maybe you’ve been daydreaming about making your own mugs and bowls. Or maybe you fell down a pottery rabbit hole on Instagram and want to try it out for yourself. Once you decide pottery might be your thing, you search “pottery classes near me” with big dreams—only to be hit with pricey options and time-consuming schedules. Yikes.
Don’t hang up the apron on your throwing dreams just yet! Pottery at home is not only doable, it’s fun, budget-friendly, and surprisingly beginner-friendly with the right tools. Whether you’re a total newbie or a potter looking to bring the studio home, we’ll walk you through everything you need to get started: the tools, the tutorials, and tips for decorating and firing your creations.
Let the pottery at home party begin!
Before we start throwing masterpieces to our heart’s content, we’ve got to set up the basics for your DIY studio. What do you actually need to get started? Here’s the works:
A wheel
Clay
Pottery tools for throwing & trimming
Paints & glazes
We’re breaking down each of these, plus a few key considerations so you can put your big pottery ideas into practice.
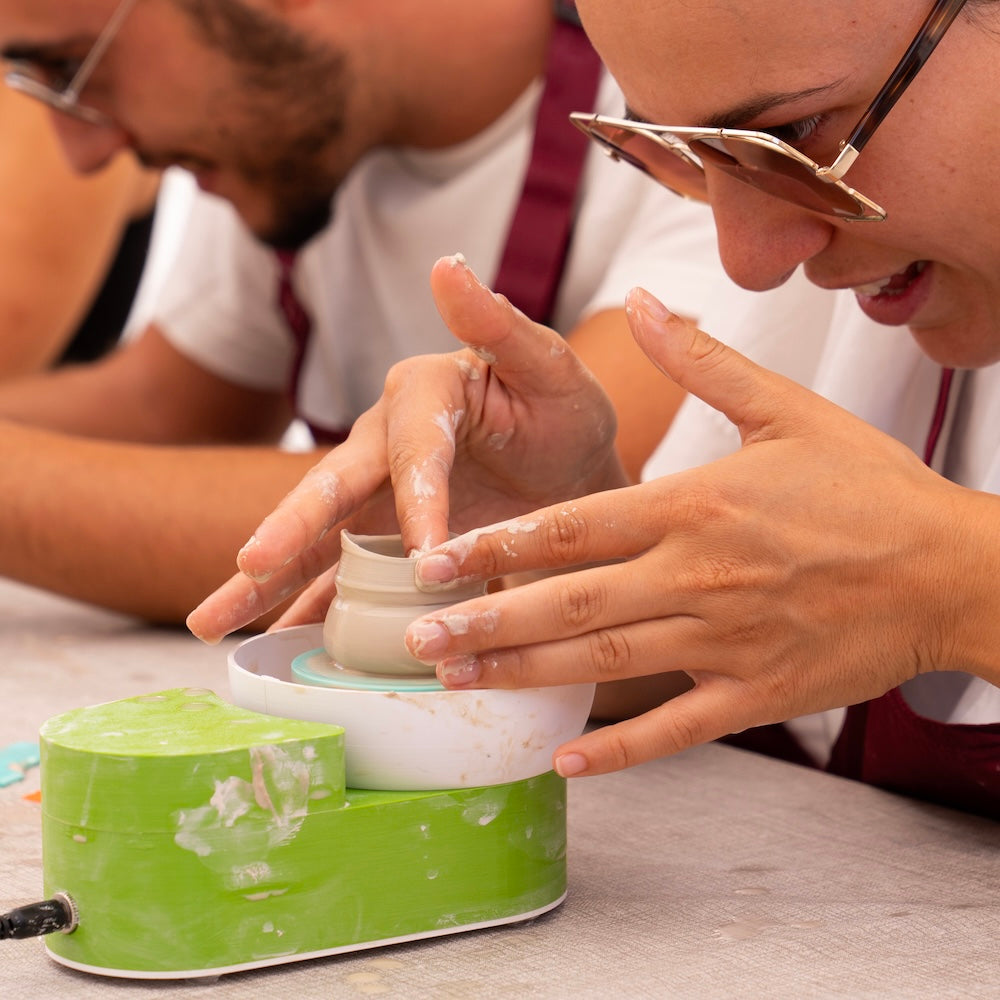
If throwing is your goal—but you’ve seen the size, cost, and mess of traditional wheels—you’re in luck. At Small Ceramics, we designed a premium mini pottery wheel with beginners in mind.
This small-but-mighty gadget is perfect for bite-sized pottery sessions at home. The 3-inch wheel head can handle up to 350 grams of clay—just the right amount for perfecting small forms like vases, ring dishes, or even a tiny espresso cup. It’s lightweight and compact, so you can throw at your kitchen table and tuck everything away when studio time is over.
What we love most? It has a built-in drip tray to catch water and clay slip, making cleanup a breeze. The plastic body is easy to wipe down, so your setup stays looking fresh even after a messy session. Plus, it comes with 4 mini bats—throw a tiny vase, pop off the bat, and swap in a new one to keep the momentum going.
Best part? The wheel is just $199.99 USD. That’s less than the cost of most in-person classes—and this mini pottery powerhouse will keep delivering joy for years to come.
Naturally, once you’ve got your wheel, you’ll need some clay to start creating. You’ve got two main options: air dry clay and ceramic clay.
Air dry clay is perfect for beginner potters who want to dive in right away—no kiln required. Our air dry clay bundle at Small Ceramics is smooth, beginner-friendly, and great for small decorative pieces. Just keep in mind: it’s not food-safe or waterproof, so it’s better for fun hobby pieces than for functional mugs or bowls. Think of this as your low-commitment, high-enjoyment option for getting started.
If you have access to a kiln—or you're serious about making functional wares—you’ll want to explore ceramic clays like earthenware, stoneware, or porcelain. These clays can be fired, giving you a more traditional throwing experience and a finished piece that’s durable and usable.
Want to learn more about clay types? We’ve got a full breakdown in this article along with links to purchase the right clay for your at-home setup.
Once you have your wheel and clay, you’re technically ready to start throwing. But if you want clean shapes and fine details, you’ll want a few essential tools in your corner.
Our pottery tool set includes everything you need to throw and trim—yes, even the sponge. The sculpting tools with ball tips are perfect for opening up forms, the wooden knife helps scrape off excess clay for a smooth finish, and the sponge keeps your clay moist and workable throughout your session.
You might also want to grab a few trimming tools . Trimming happens when your piece reaches the “leather-hard” stage—firm, but not fully dry. It’s the perfect time to carve away excess clay, add a foot to the base, or refine the shape before firing. We’ve got mini trimming tools for precision work, plus a mini trimmer that helps hold your pot steady while you trim.
Want to see it in action? Check out our mini trimmer video here !
Once your piece is thrown, trimmed, and looking cute—it’s time to decorate!
If you’re using air dry clay, skip the kiln and grab some high-quality paints and a varnish to seal your design. Our Air Dry Pottery Bundle includes acrylic paints and a protective varnish, so your creations stay vibrant and intact.
If you’re kiln firing, you’ll need to stock up on glazes—like our Mayco Stroke & Coat options. After your piece goes through its first firing (called the bisque phase), it’s ready for glazing. This is the fun part—go glaze cray! Just be sure to check the glaze’s firing temperature so your local studio or kiln can fire it properly.
Now that your at-home studio is stocked and ready, it’s time to get your hands dirty. We’ve created a series of tutorials to guide you through the basics and beyond.
Start with : Small Pottery Wheel How-To: Centering . Before you can throw anything, you’ll need to center your clay on the wheel—a crucial step for creating a balanced, even piece.
Next up: How To: Opening a Form . Once your clay is centered, you’ll learn how to “open” your form and start pulling up the walls to create the base of a mug, vase, bowl—whatever you’re dreaming up.
Ready to get creative? Try our Making a Vase tutorial, where we walk you through shaping one of the most fun and versatile forms.
Whether you're keeping it simple or getting funky with your forms—happy throwing!
If you’ve opted for air dry clay—congrats! You’re officially done with your pot.
But if you’ve chosen ceramic clay, you’ve got a few more steps before your piece is ready for its moment in the spotlight. You might start Googling kilns... and quickly realize you’re not ready to drop thousands of dollars to fire your at-home creations.
Don’t worry—you’ve got options.
Did you know you can fire pottery in a microwave?
We’ll walk you through Raku firing, a technique where pottery is removed from a kiln while still red-hot, then placed in a container of combustible materials. The result? A one-of-a-kind finish with dark stains and crackled glazes.
Here’s what you’ll need:
A dedicated microwave (not the one you reheat leftovers in!)
Heat-resistant gloves
Your glazed pottery piece
Combustible materials (like shredded newspaper)
A traditional kiln can cost over $1,000—but a microwave kiln is a surprisingly affordable way to fire pottery at home.
Pro tip: Your piece must be completely dry before firing. Once it is, coat it with a Raku glaze.
Then:
Preheat your microwave kiln in the microwave for 3 minutes.
Carefully place your glazed piece inside the kiln, and microwave for about 5 minutes—or until you see a warm glow.
Using gloves, remove the red-hot kiln and place your piece into a container with combustible material. Cover it with a lid to “reduce” the pot (aka, pull oxygen from the glaze).
Let it cool, and voilà—a beautifully fired, crackled-glaze pot, made right at home.
Check out the full microwave firing tutorial here .
If microwave firing isn’t your thing, check out KilnShare.com . Potters and ceramicists around the world list their kilns for rent—just find one near you, reach out about pricing, and drop off your pieces for firing. It’s a great alternative to owning your own kiln (or experimenting with microwave firing) and makes the world of pottery at home way more accessible.
Pottery at home might sound intimidating at first—but with the right tools, a little guidance, and a dash of creativity, it’s totally doable (and incredibly fun). Whether you're keeping it casual with air dry clay or diving into microwave or kiln-fired pieces, there’s a setup that fits your space, budget, and goals.
So grab your Small Ceramics pottery wheel , pick your clay, and let your imagination spin. Your pottery at home journey starts now—happy throwing!


